
Vintage Suitcase to Side Table
Note: scroll down to the end of this post to see a photo gallery of the complete project.
Repurposing an old vintage suitcase has been on my list of projects for a LONG time (Pinterest project #999!?!). I have an old, vintage suitcase that belonged to my Great Aunt Dottie that I’ve been thinking about repurposing. While I am a fan of stacking old suitcases, for a retro decor look, this particular suitcase was a bit worn out and stained in places.
I couldn’t decide if I was going to paint it, decoupage it with decorative scrapbook papers, or maybe even cover it with fabric. I have a TON of interesting cotton prints in my fabric stash. After seeing a couple of fabric covered suitcases on Pinterest, I decided to go with that option for my aunt’s suitcase.
This vintage piece of luggage is quit large, so I picked out three coordinating print fabrics. I didn’t think I had enough of any one fabric to completely cover the case, so I picked out two other patterns to use on the sides. I’ve also seen suitcase projects, which have been turned into a side table. That’s the option I decided to go with.
Chalk Paint Adds a Decorative Touch
I purchased a pint of green chalk paint (NOT chalkboard paint) from Home Depot, along with 4 wood table legs and the hardware to attach the legs to the bottom of the suitcase. The brand of paint I purchased was Deco Art Americana chalky finish paint in their New Life color.
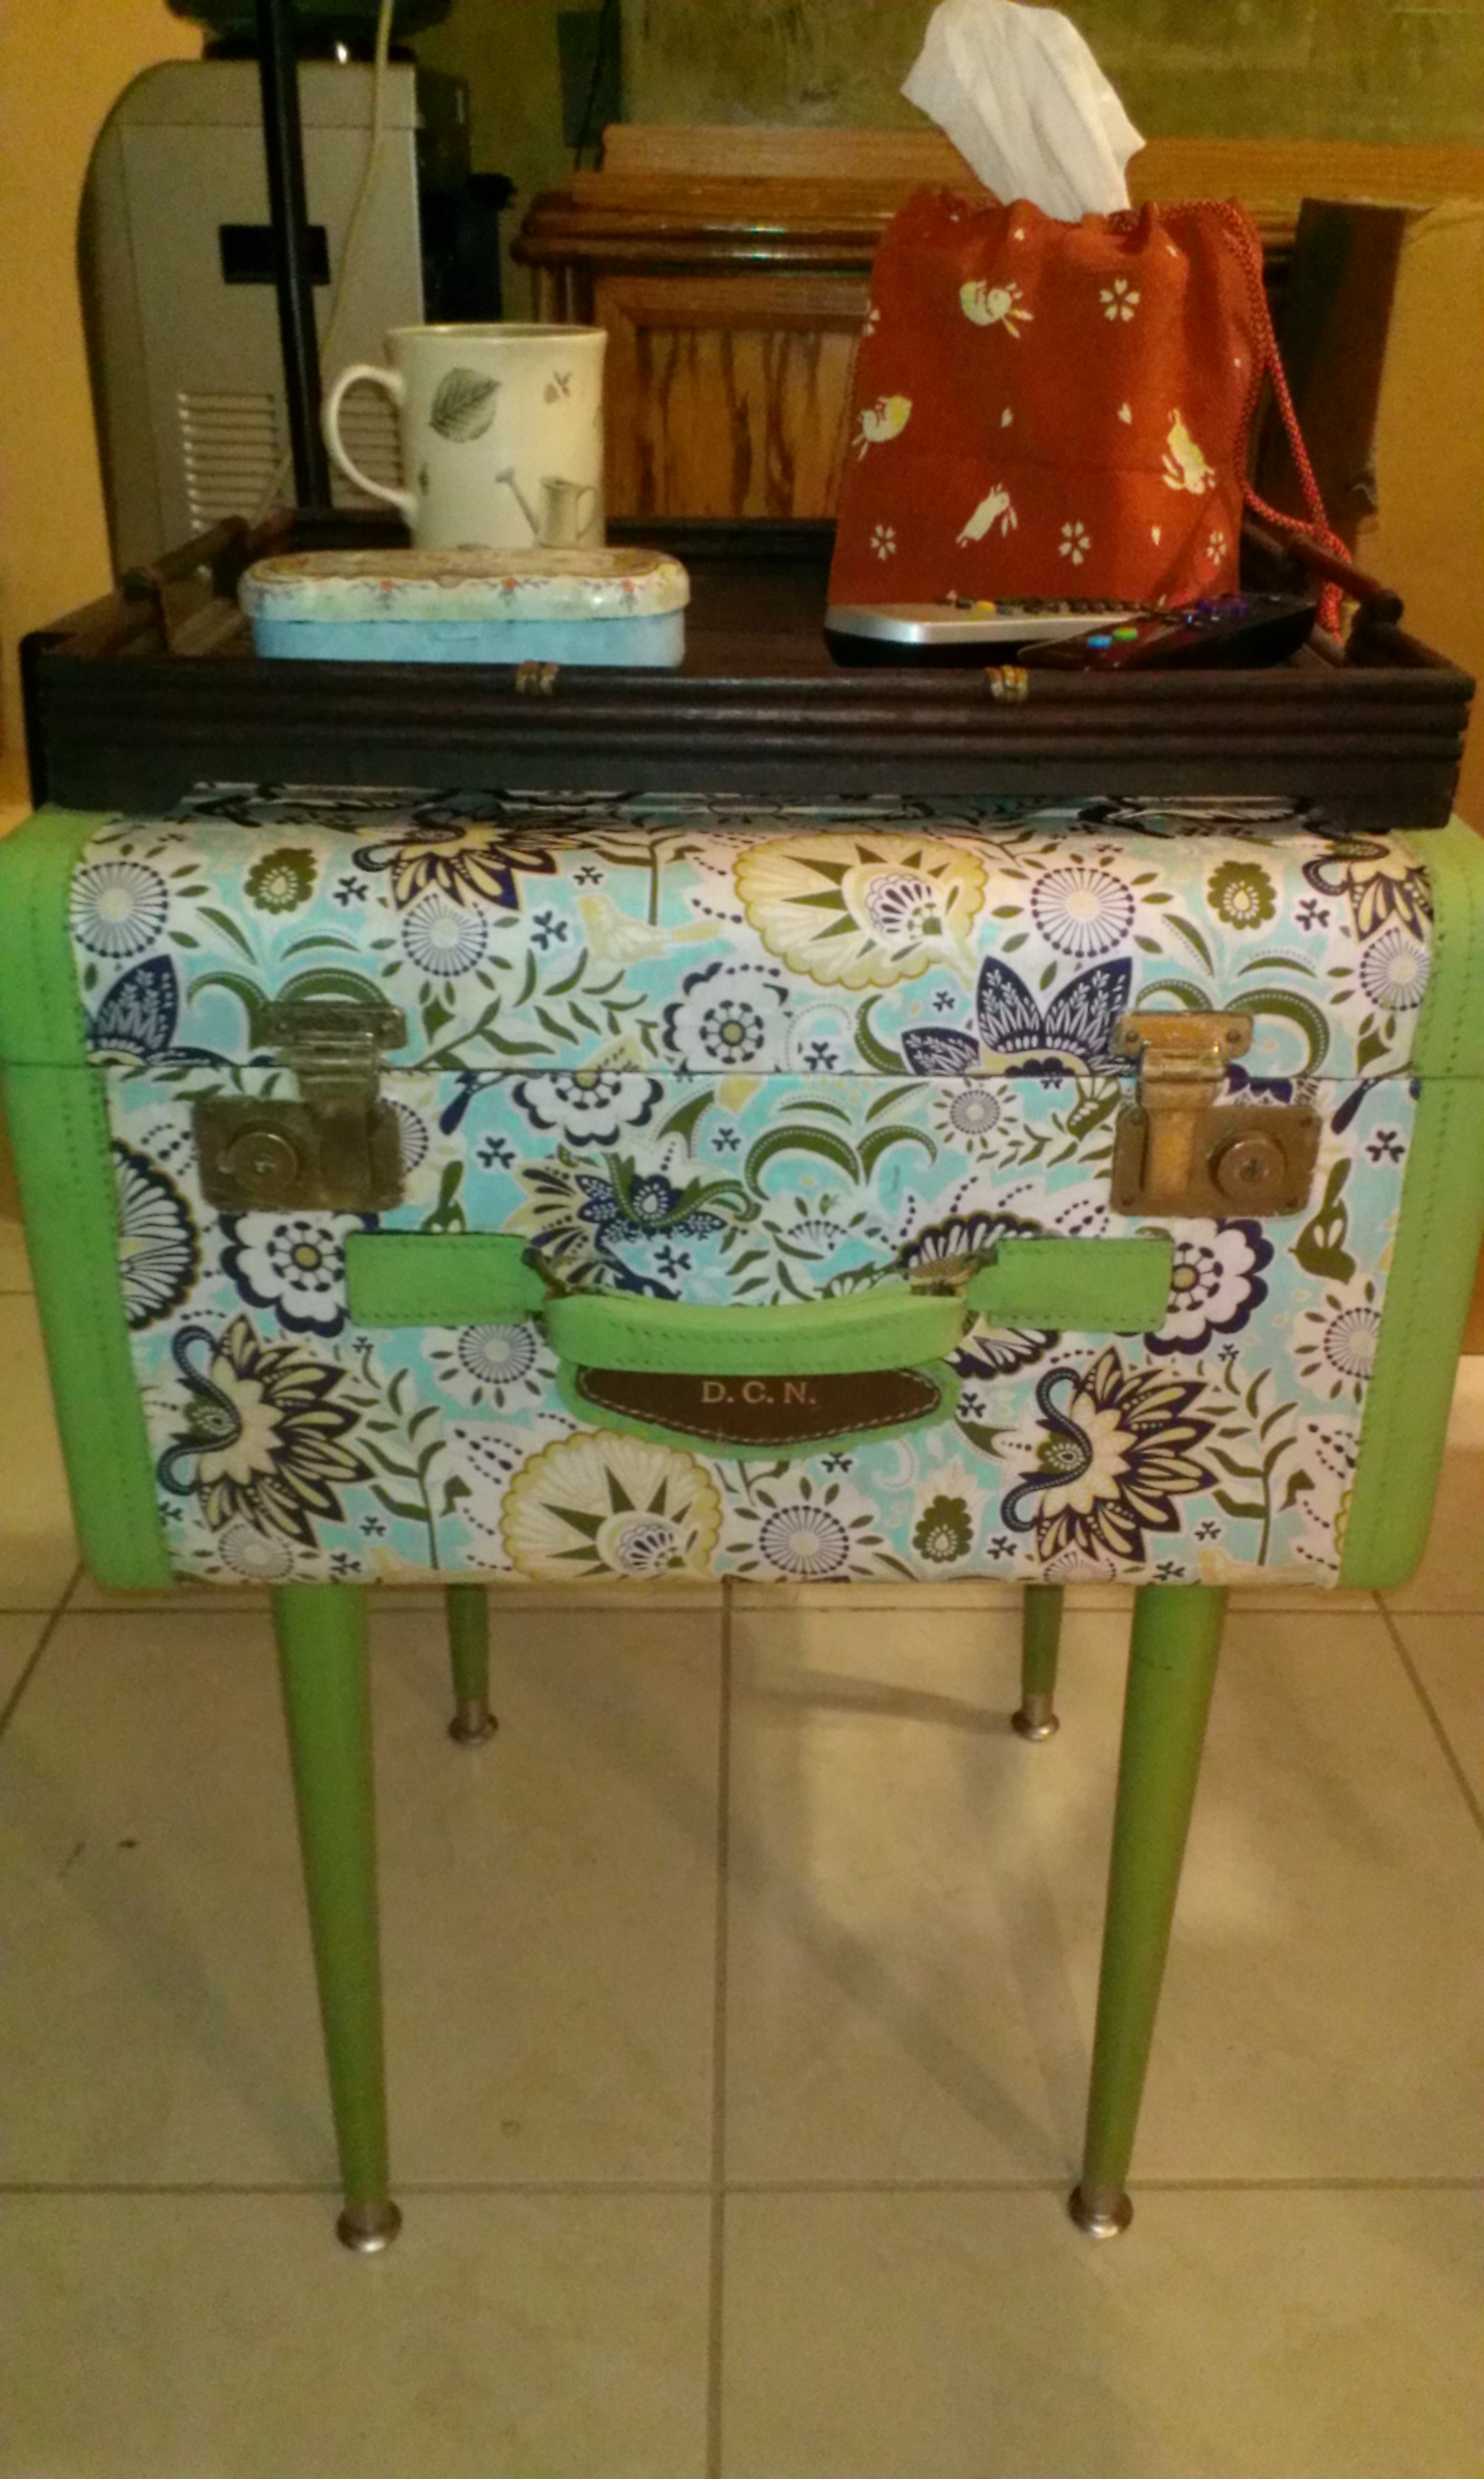
I painted the unfinished wood legs, from Waddell Manufacturing, with three coats of the chalk paint. Since the leather trim was also very beat up and worn out I decided to paint over the trim with the chalk paint. I left the leather monogram on the front with my aunt’s initials un-touched, which you can see in the photo at the top of this blog post.
Covering the Suitcase with Fabric
Working on a small section of the suitcase at a time, I used good old Mod Podge in the matte (non-glossy) finish to attach the fabric to the luggage. I used a foam brush to add a thin coat of Mod Podge to the base of the suitcase, then placed the fabric on top, then added a thin coat of Mod Podge on top, making sure to smooth out the fabric as I went along.
To prepare the fabric for attachment, I cut a piece slightly larger than the area being covered. Once the fabric was completely dry, I used an X-Acto knife to trim away the excess fabric. Then I added another layer of Mod Podge to the fabric and let it dry, before moving to the next section of the suitcase. This project took a few days, as you need to let each section dry completely before moving onto the next area.
It was a bit tricky adding the fabric to the front of the suitcase, to get it to fit smoothly around the large brass hardware latches. I used a small pair of scissors to cut a small opening in the fabric to help fit it around the latches. Once the fabric was dry, I used my X-acto knife to trim off the excess fabric away from the latches.

Adding the Table Legs and Hardware
I purchased the unfinished wood legs and metal leg hardware, by Wardell, online. Wardell products can be found at home improvement stores like the Home Depot, Lowes, or Ace Hardware. The bottom of the suitcase is a bit thin so I almost thought about attaching the hardware and legs to a piece of wood, and placing the suitcase on top. If I went that route, I would have cut a piece of wood the same size as the bottom of the case, and painted it with the chalk paint.
But I decided to attach the hardware and legs directly to the bottom of the suitcase. I’m using the suitcase table to store some sewing patterns, which don’t weigh that much. But if you wanted a sturdier piece, or think you might want to the sell your suitcase table, I would probably add a supporting layer of wood to the bottom.
I LOVE how this project turned out and am using the suitcase table in my craft room/office. I have my sewing patterns stored inside the case, and I placed a couple of baskets of craft supplies on the top. The table is quite large, and I was able to fit my wicker sewing supply basket underneath.
The suitcase table would also work as a great accent piece in my living room. Look at the second photo shown above, where I added a large bamboo tray to the top of the case. I used the tray to store my TV remote controls, coasters, eyeglass case, and a box of tissues. Now it’s the perfect spot to sip a cup of coffee, while catching up with your favorite shows.
Suitcase Table Photo Gallery
Click on any of the thumbnail images below, to see a slide show of the complete project. The slideshow displays larger images, for a detailed look at the complete project.


© 2015, The Creative Cottage. All rights reserved. Unauthorized use and/or duplication of this material without express and written permission from this blog’s author and/or owner is strictly prohibited.


+ There are no comments
Add yours